The Home That Almost Got Repainted Twice
Our most memorable project last year perfectly illustrates Stucco Damage and Peeling Paint Fixed: How Proper Prep Saved This Arizona Home. Many homeowners across the Metro-Phoenix area assume a failing paint job means they bought the wrong brand of paint.
From what we have seen over the years, the real culprit is almost always the surface preparation. A homeowner in Ahwatukee called us last spring with a familiar and frustrating problem.
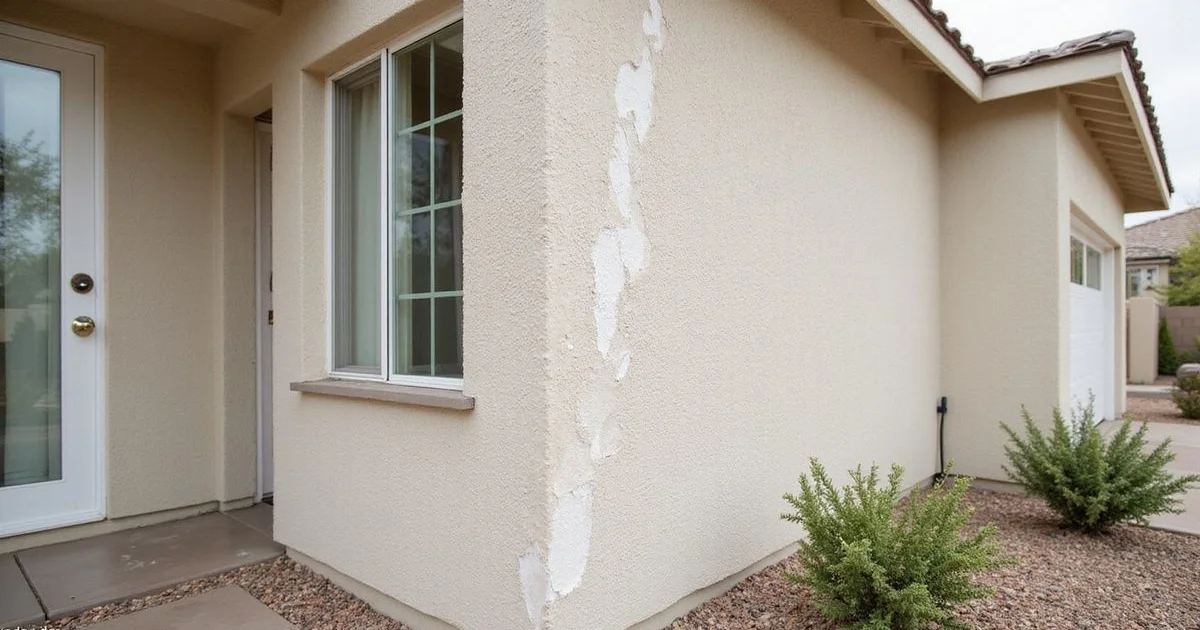
Their stucco-clad two-story home had been painted only three years earlier.
Wide sheets of paint were curling off the south-facing wall, and several cracks had reopened through the new finish.
The client was ready to call the same painter back to fix it. Our team asked if we could take a look first.
Let’s look at the data from that inspection, what it actually told us about the failure, and then explore the specific prep plan we used to save this home.
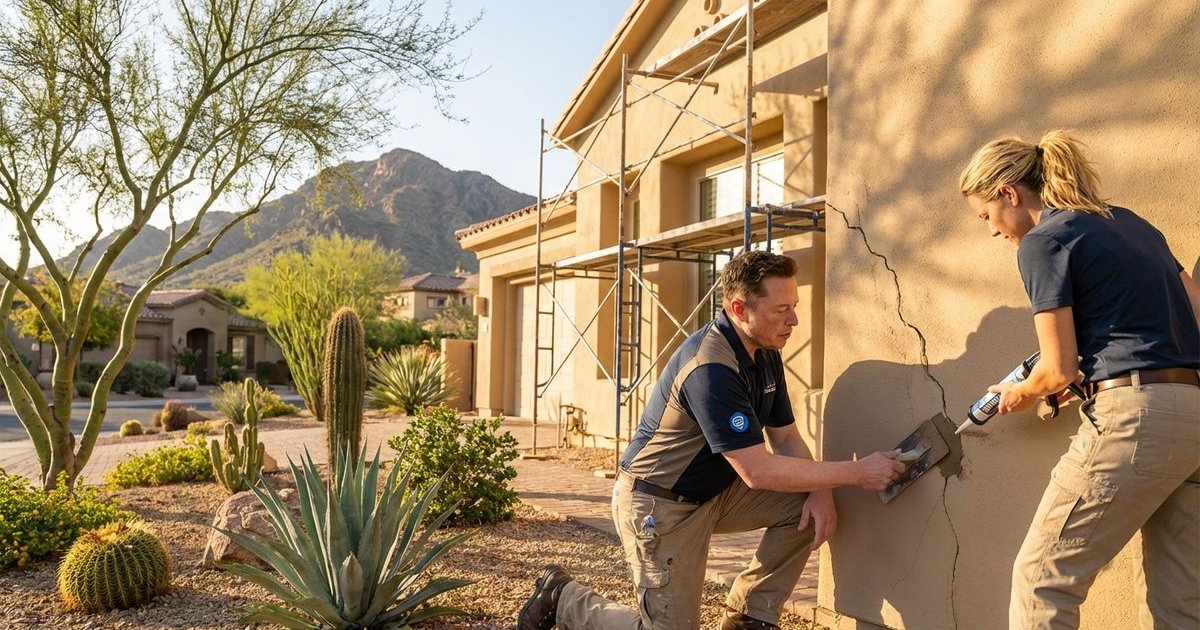
What the Walk-Through Revealed
The damage clustered on three walls that took the most direct sun. The east-facing wall, mostly shaded by a covered patio, looked fine.
That pattern told us nearly everything we needed to know. Our inspection revealed that the high summer UV index, which regularly tops 10 in Phoenix, had severely degraded the poorly prepped areas.
This intense sunlight breaks down the chemical binders in the exterior paint over time. We marked four problem types during the inspection:
- Hairline cracks that had been painted over without filler
- Two long horizontal cracks above the garage with paint peeling in strips
- A delaminated section about three feet wide near the chimney
- Chalky residue on the lower walls where sprinkler overspray hit daily
The prior crew had pressure-washed and rolled fresh paint over all of it. No caulking, no patching, and no primer on the bare spots made this a cheap and fast job. It was doomed to fail.
Why the Last Paint Job Failed
Three distinct issues destroyed the previous finish in less than 36 months: skipped crack repair, unprimed chalky stucco, and ongoing sprinkler water damage. None of them had to do with the paint brand.
Our team regularly sees these exact same failures on homes across Chandler and Gilbert.
Skipped Crack Repair
A standard 2 to 4 mil paint film cannot bridge a moving stucco crack. Arizona weather features rapid temperature drops at night, causing building materials to expand and contract constantly.
Once thermal swings widened those cracks again, the paint tore at the weakest point and started peeling in sheets.
No Primer Over Chalky Stucco
When stucco oxidizes in the Arizona sun, the surface turns to fine powder. New paint bonds to that powder instead of the actual wall.
This poor bond lifts and bubbles at the first hot spell. We always recommend sealing this oxidation with a specialized masonry product.
Ignored Sprinkler Water Damage
Daily overspray from the irrigation system was driving moisture through the bottom of the wall. That constant water pressure kept the lower stucco soft and pushed paint off from underneath.
The Repair Plan We Quoted
We laid out a five-step prep plan focusing on power washing, crack filling, rebuilding stucco, and spot-priming before any new color went on the wall. The homeowner approved the full scope, including the crucial irrigation fix.
- Adjust two sprinkler heads pointing at the house
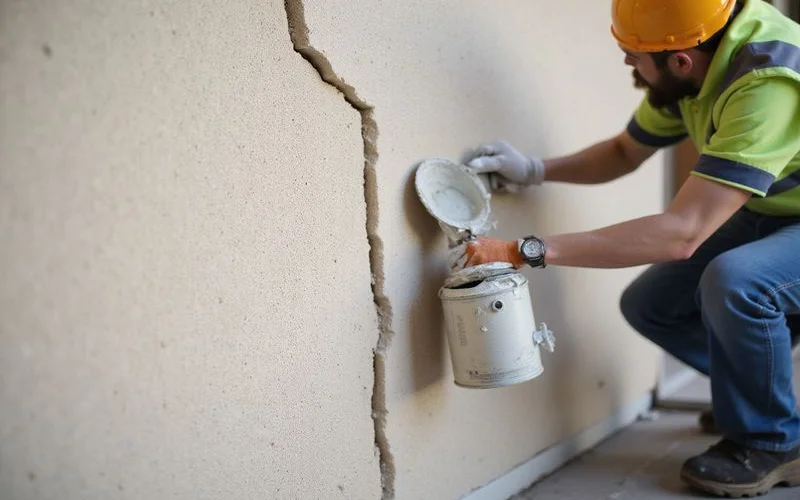
- Power wash the entire exterior and let it dry for 48 hours
- V-out, fill, and texture-match every crack wider than a hairline
- Cut out and rebuild the delaminated section near the chimney
- Spot-prime all bare and chalky areas with a specialized acrylic masonry primer
Our process ensures a solid foundation for the topcoat. Painting was step six. It always is.
Here is a quick look at how our approach compares to a standard budget application.
| Repair Aspect | Typical Cheap Repaint | Our Proper Prep Plan |
|---|---|---|
| Crack Filling | Paint rolled directly over cracks | V-out, fill, and texture-match |
| Chalky Walls | Painted directly over powder | Washed and sealed with masonry primer |
| Sprinkler Issues | Ignored | Sprinkler heads adjusted away from walls |
| Expected Lifespan | 2 to 3 years | 8 to 10 years |
How the Prep Actually Went
The wash and dry process took two full days, and crack repair took another two days. Hairlines received a flexible elastomeric sealant, while wider gaps required a knife-grade patching compound.
This specific caulk stretches up to 300% to handle the rapid 30-degree daily temperature drops common in our desert climate. Our team used a premium knife-grade patching compound for the wider cracks.
To prevent the compound from sinking as it cured, we applied it in two separate passes.
Rebuilding the Delaminated Chimney
The chimney section proved to be the slowest part of the entire project. We cut back to sound stucco, checked the lath, and rebuilt the area using a scratch coat and a finish coat.
The fresh patch sat for a week before we touched it again.
The Importance of Texture Matching
Texture matching is exactly where shortcuts show up six months later. We used a dash brush on the patches to accurately copy the existing knockdown pattern.
Up close, you can still tell where the repair sits. From ten feet back, the repair is completely invisible.
What Went on the Wall Last
Only after the patches cured to a pH level under 10 did we open the paint cans. The chalk was fully sealed, and every bare spot was properly primed.
We selected a premium 100% acrylic exterior paint rated for high UV exposure. For maximum protection, the crew applied this material in two full coats.
A proper stucco paint job in Arizona requires patience. Roughly 70% of the labor goes into surface work, and only 30% goes into actual painting.
Our typical schedule heavily favors this preparation work, making the total project run significantly longer than a standard exterior repaint. That specific labor ratio is completely normal for us.
It is the main reason a properly prepped finish in the East Valley should hold for 8 to 10 years instead of just three.
Takeaways for Other Phoenix Homeowners
If you are seeing peeling paint, sheet failure, or cracks reopening through a recent paint job, the prep work was the real issue. We find that exterior paint in the Phoenix area typically lasts 5 to 7 years, but you can easily extend that lifespan with high-quality preparation.
A few clear signs will show you if the prior contractor took shortcuts:
- Paint peeling in long ribbons rather than small flakes
- Crack lines telegraphing straight through the new finish
- Chalky white residue left on your hand when you rub the wall
- Shiny glossy stripes visible where the wrong caulk was used over cracks
The real fix is not just another quick and cheap repaint. You need a real exterior assessment and a written prep plan before anyone opens a can of paint.
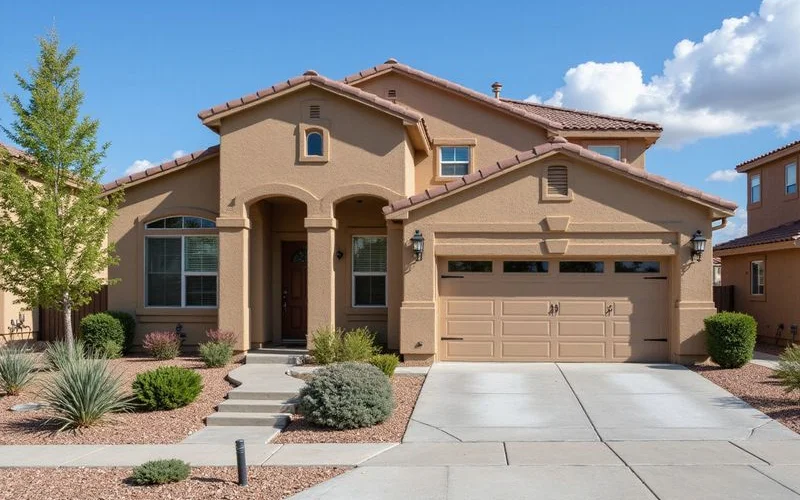
Done right, an exterior in Ahwatukee, Chandler, or Gilbert should hold its color and seal for close to a decade. Done wrong, you will end up paying twice in just three years.
If You Are Spotting Similar Damage
Walk your south and west walls this weekend to check for early warning signs like sheet peeling or hairline cracks. Take photos of anything that looks suspicious, including sprinkler heads aimed directly at the house.
If you find more than one of those signs, get a real exterior painting assessment with stucco repair included before you book another paint job. We will tell you exactly what your walls need, what is purely cosmetic, and what would be a waste of money.
Common next steps for our clients include:
- Reviewing your exterior photos over a brief phone call
- Scheduling a free, on-site damage assessment
- Providing a written prep and paint proposal
Call us at 602-572-1234 on weekdays from 6 AM to 6 PM, or request a free quote online. Our team serves Ahwatukee, Chandler, Gilbert, Tempe, Mesa, and the surrounding East Valley. If you want to see your own Stucco Damage and Peeling Paint Fixed: How Proper Prep Saved This Arizona Home is the exact blueprint we will follow for your property.