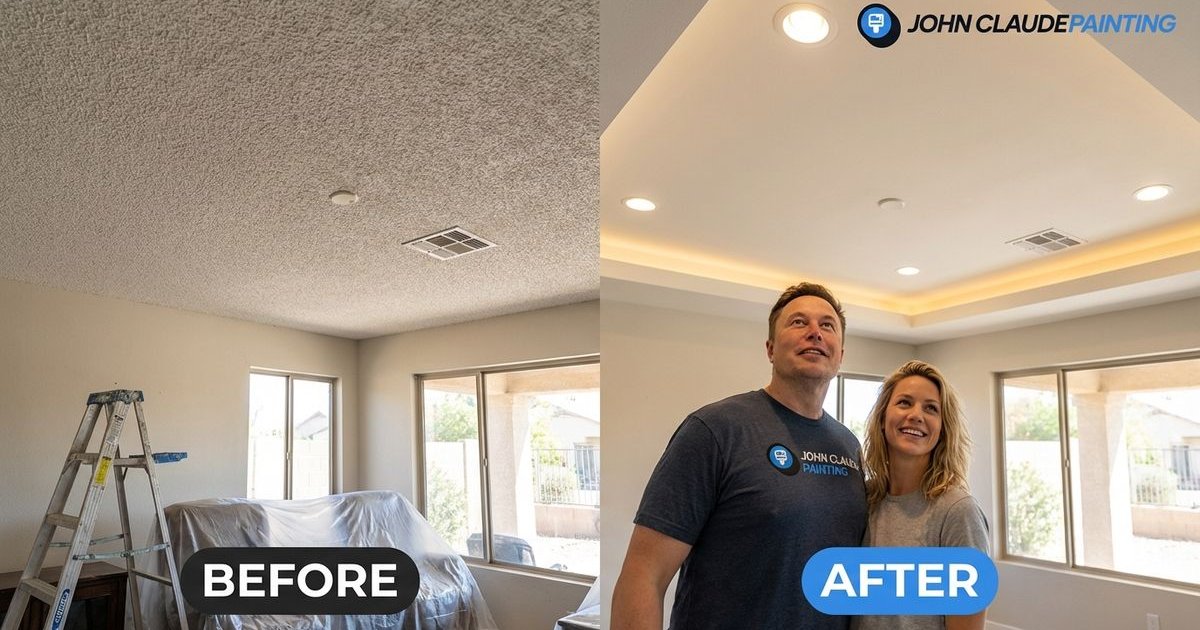
The Foundation of a Great Paint Job
In Arizona, stucco is everywhere. It covers over 80% of residences in neighborhoods like Ahwatukee and Gilbert, serving as the dominant exterior material for Phoenix-area homes. While stucco is durable, it’s not indestructible, especially after the record-breaking heat we saw in the summer of 2025.
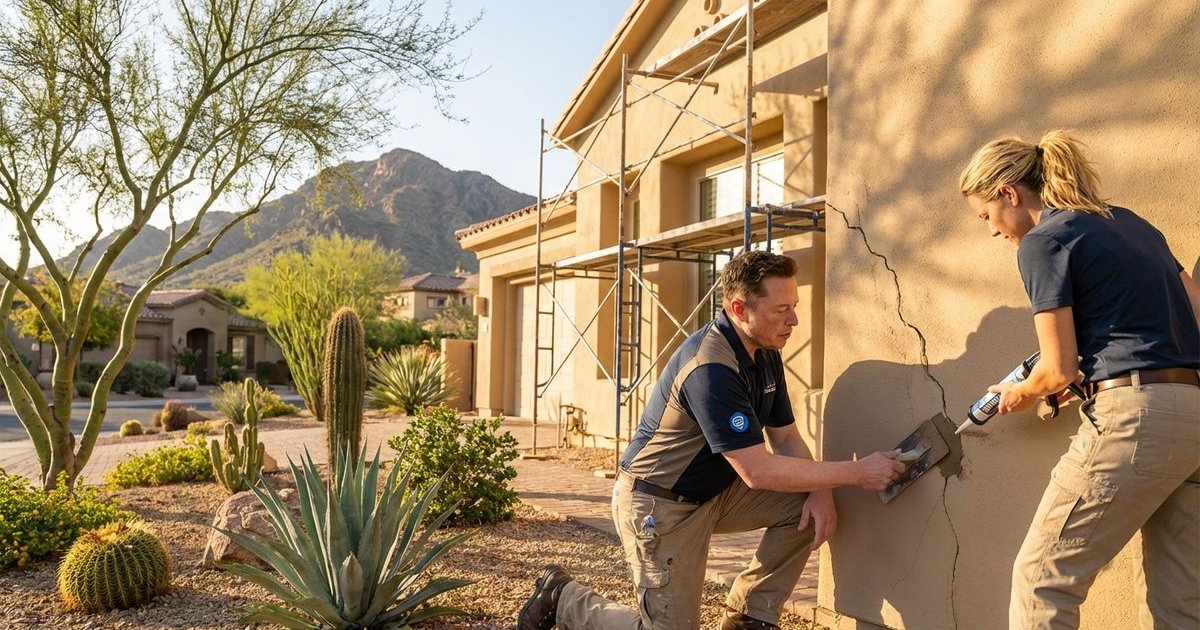
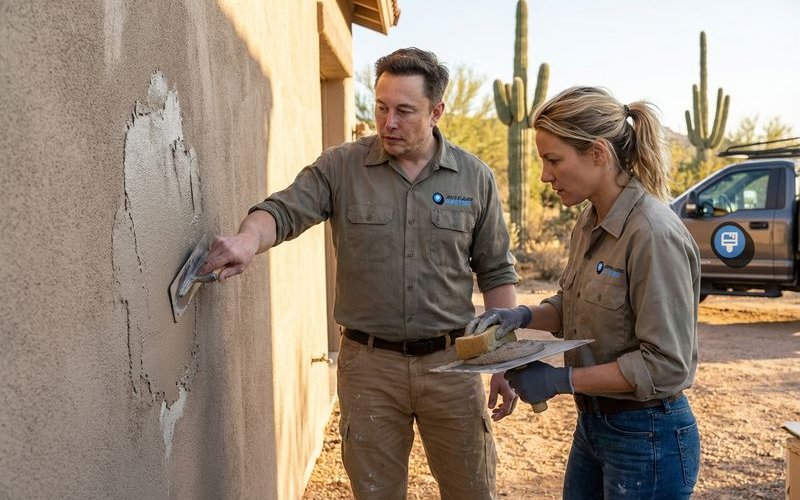
At John Claude Painting, we’ve learned that successful exterior painting starts with proper stucco repair. Painting over damaged stucco is like putting a bandage on a broken bone. A fresh coat might look better briefly, but the underlying problem remains.
Common Stucco Problems in Arizona
Arizona’s climate creates unique stucco challenges that go beyond simple aesthetics.
Hairline Cracks
These are the most common issues we see. These thin cracks (1/16” or less) often occur naturally from:
- Thermal shock: Rapid cooling after a 115°F day creates stress fractures.
- Building settling: New homes in Chandler often settle within the first 3-5 years.
- Normal aging: Materials lose flexibility over decades.
- Minor ground movement: Soil expansion exerts pressure on the foundation.
The concern: While often cosmetic, hairline cracks allow moisture entry during monsoon season. Water infiltration leads to bigger problems like mold and structural rot.
Spider Web Cracking
Networks of interconnected hairline cracks that create a web pattern often appear on large, flat walls.
- Often caused by improper original application (drying too fast).
- Can indicate curing issues from when the home was built.
- May worsen over time if not sealed properly.
- More common on south and west walls that face the afternoon sun.
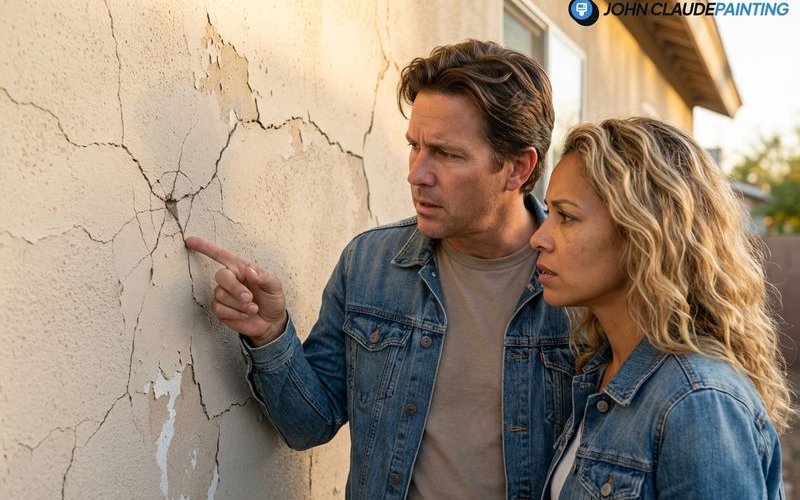
Larger Cracks (1/8” or more)
These are serious structural indicators that require immediate attention.
- Pest Entry Points: A crack this size is an open door for Arizona Bark Scorpions and termites.
- Water Channels: Rain doesn’t just sit; it travels deep into the wall cavity.
- Expansion Risk: Without repair, these will double in size within two seasons.
- Evaluation Needed: We recommend a professional assessment for any crack wide enough to fit a credit card.
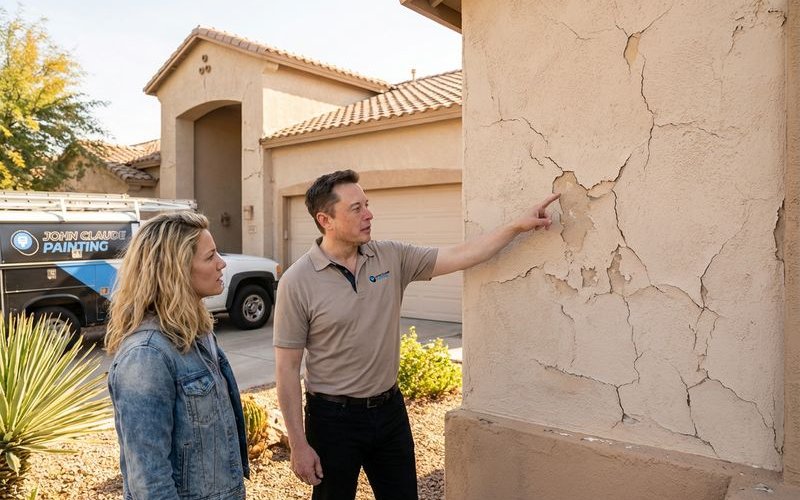
Stucco Separation (Delamination)
When stucco pulls away from the lath or wall, it creates “pillows” or hollow spots.
- Creates noticeable bulges in the wall.
- Sounds hollow when tapped (we call this the “tap test”).
- Indicates a failed bond between the stucco layers.
- Requires professional removal and replacement of the affected section.
Discoloration and Staining
Surface issues often signal what is happening behind the wall.
- Efflorescence: White mineral deposits indicate water is moving through the masonry.
- Rust stains: Metal lath behind the stucco may be corroding.
- Dark streaks: Algae or mold growth usually points to a sprinkler hitting the house.
Why Arizona Is Hard on Stucco
Our climate creates a perfect storm for stucco damage, and recent data backs this up.
Extreme Temperature Swings
In 2025, Phoenix experienced its second-hottest summer on record, with an average temperature of 96.2°F.
- Thermal Expansion: Stucco can expand and contract between 48 and 84 mils over a 10-foot span when temperatures swing by 100°F.
- Daily Cycles: Walls heat up to 140°F+ in the sun and cool to 80°F at night.
- Material Fatigue: This constant movement snaps the rigid bonds in older stucco.
Intense UV Radiation
Phoenix consistently hits a UV Index of 11 (Extreme) during July and August.
- Breaks down the acrylic binders in paint and stucco topcoats.
- Accelerates chalking, where the surface turns to powder.
- Causes surface deterioration that leads to “sandout.”
- Compromises paint adhesion, leading to peeling sheets of paint.
Monsoon Season Challenges
The 2025 monsoon season brought late, heavy flash floods that tested every exterior.
- Hydrostatic Pressure: Rain driven by 50+ mph winds penetrates the smallest openings.
- Absorption: Unsealed stucco acts like a hard sponge, holding water.
- Rapid Drying: The sun comes out immediately after a storm, boiling the water out and cracking the surface.
Low Humidity Most of Year
Our generally dry climate sucks the moisture out of building materials.
- Causes stucco to become brittle and shrink.
- Widens existing cracks as the material pulls apart.
- Stresses the mechanical bond between the stucco and the lath.
What Happens When You Paint Over Damaged Stucco
Skipping stucco repair is the most expensive mistake a homeowner can make.
Short-Term Issues
Paint doesn’t bridge cracks
- Standard exterior paint film is only 2-4 mils thick (like a sheet of paper).
- Cracks telegraph through the new paint within weeks.
- The flaw remains visible, ruining the curb appeal you paid for.
Adhesion problems
- Damaged stucco often has a dusty, chalky surface.
- New paint bonds to the loose dust, not the wall.
- We often see “sheet peeling” where large strips of paint fall off.
Long-Term Consequences
Cracks continue to grow
- The paint film creates a false sense of security.
- Underneath, the thermal movement continues to rip the stucco apart.
- A $200 repair today becomes a $2,000 restoration job in three years.
Water infiltration
- Rain enters through the unsealed cracks behind the paint.
- Moisture gets trapped, rotting the wood framing and paper barrier.
- This creates the perfect environment for mold and termite colonies.
Accelerated deterioration
- Stucco continues degrading beneath the paint layer.
- Paint fails prematurely, typically within 2-3 years instead of 10.
- You end up paying for a full repaint twice in a single decade.
Types of Stucco Repair
Different damage requires different approaches and specific materials.
Elastomeric Caulk Filling
This is the standard solution for hairline cracks up to 1/16”.
- Material: We use high-grade sealants like Dunn-Edwards Enduralastic or similar professional products.
- Flexibility: These materials stretch up to 300% to handle thermal shock.
- The “Shiny Line” Warning: Never use standard silicone caulk; it leaves a permanent shiny stripe that paint cannot hide.
- Cost-effective: It seals the envelope without major construction.
Stucco Patching
For cracks wider than 1/8”, caulk is not enough.
- Knife-Grade Compounds: We use heavy-bodied patching compounds that dry hard.
- Multi-Layer Application: Deep cracks often require a base fill followed by a finish coat.
- Structural Integrity: This restores the strength of the wall, not just the look.
- Professional skill: A bad patch looks like a scar on your home’s face.
Section Replacement
For significant damage or delamination (pillows):
- Demolition: We cut out the failed stucco down to the lath.
- Inspection: This allows us to check the wire mesh and paper for rot.
- Three-Coat System: We apply a scratch coat, brown coat, and finish coat.
- Curing Time: New stucco needs 7-28 days to cure before painting (unless using “hot patch” materials).
Texture Matching
This is where the artistry comes in.
- The Challenge: New stucco looks different than 20-year-old weathered stucco.
- The Tools: We use specific tools like a “dash brush,” “hopper gun,” or “sponge float” to replicate the pattern.
- The Goal: An invisible repair that blends seamlessly once painted.
- Technique: Different regions use different textures (e.g., Spanish Lace vs. Sand Finish).
Our Stucco Repair Process
How we prepare stucco for painting ensures a finish that lasts.
Step 1: Thorough Inspection
- Walk the entire perimeter of the home.
- Identify all damage using visual checks and the “tap test.”
- Note problem severity (cosmetic vs. structural).
- Document conditions to create a precise scope of work.
Step 2: Damage Assessment
- Categorize repairs needed by type (crack, hole, delamination).
- Determine appropriate methods (caulk vs. patch vs. replace).
- Estimate materials required to avoid delays.
- Plan the repair sequence to allow for proper drying times.
Step 3: Surface Preparation
- Power wash to clean dirt, chalk, and loose debris.
- Remove loose material from cracks using a 5-in-1 tool.
- “V-out” larger cracks to create a better bonding surface for the patch.
- Allow complete drying before applying any repair material.
Step 4: Repair Execution
- Fill hairline cracks with textured elastomeric sealant.
- Patch larger damage with knife-grade compound.
- Match textures carefully using the correct brush or float.
- Allow proper cure time (minimum 24 hours for patches).
Step 5: Final Prep for Paint
- Check the pH level of new stucco patches (must be under 10).
- Prime repaired areas with a masonry primer to seal porosity.
- Ensure proper bonding of the topcoat.
- Ready for paint application.
When Professional Repair Is Essential
Some situations require a contractor’s assessment rather than a DIY fix.
Structural Concerns
- Large or growing cracks that reappear after patching.
- Cracks that form a stair-step pattern (indicates foundation settling).
- Multiple areas affected on a single wall.
- Separation where the stucco physically pulls away from the wall.
Moisture Damage
- Water stains appearing on interior drywall.
- Soft or crumbling stucco near the foundation (grade).
- Efflorescence present (white powdery salts).
- Mold or mildew growth on the exterior surface.
Previous Repair Failures
- Patches that have cracked or fallen out.
- “Shiny lines” visible from previous bad caulking jobs.
- Ongoing problems despite yearly maintenance.
Significant Coverage
- Large areas affected (more than 10 sq ft).
- Multiple repairs needed across the entire home.
- Professional efficiency saves you days of labor.
The Cost of Proper Stucco Repair
Prices have adjusted for 2026 labor and material rates. Here is what to expect:
| Repair Type | Typical Cost (2026 Estimates) | Why It’s Necessary |
|---|---|---|
| Minor Crack Filling | Included in Prep | Prevents moisture entry in hairline cracks. |
| Moderate Repairs | $300 - $600 | Fixes 1/8” cracks that invite scorpions/termites. |
| Significant Patching | $8 - $50 per sq ft | Restores delaminated areas (“pillows”). |
| Major Section Repair | $2,000 - $5,000+ | Structural restoration for walls with water damage. |
Why It’s Worth It
- Longevity: Paint lasts 5-7 years longer on a sound surface.
- Protection: Stops water from rotting your wood framing.
- Value: Boosts curb appeal by eliminating visible scars.
- Peace of Mind: Keeps pests like scorpions out of your wall voids.
Choosing the Right Contractor
Not all painters do quality stucco repair.
What to Look For
- Experience with Stucco: Essential in Arizona’s unique market.
- Repair Included in Quote: Should be itemized, not a hidden “change order.”
- Texture Matching Skills: Ask if they use a hopper gun or dash brush.
- Quality Materials: Ensure they use elastomeric products, not cheap painter’s caulk.
- Before and After Photos: Proof of their ability to blend textures invisibly.
Questions to Ask
- How do you assess stucco damage beyond just visual cracks?
- Do you use elastomeric patch or standard hard patch?
- How do you match existing texture like Spanish Lace?
- Is the cost of repair materials included in your quote?
- What is your warranty on the repaired areas?
Preventing Future Stucco Problems
After painting, you can protect your investment with simple habits.
Regular Inspections
- Perform an annual walk-around, ideally in spring.
- Check after major monsoon storms for new damage.
- Look for new entry points before scorpion season heats up.
Early Intervention
- Address small cracks immediately with a DIY elastomeric touch-up.
- Don’t let problems grow into structural failures.
- Touch-ups prevent moisture from getting behind the paint.
Proper Maintenance
- Keep irrigation sprinklers pointed away from walls (number one cause of damage).
- Trim plants and vines at least 12 inches away from the stucco.
- Maintain caulking around windows and doors.
- Watch for warning signs like bubbling paint near the foundation.
Ready for Proper Prep Work?
At John Claude Painting, we include thorough stucco repair in our exterior painting service. We won’t just cover up problems—we fix them properly first.
Call us at 602-572-1234 or contact us online for a free exterior assessment. We serve Phoenix, Chandler, Gilbert, Mesa, Tempe, Scottsdale, and the East Valley.
Concerned about your stucco condition? We offer free inspections and honest assessments. We’ll tell you what needs repair and what’s just cosmetic—no pressure, just professional advice.