The 80/20 Rule of Professional Painting
Here is something most homeowners in the Valley don’t realize. Professional painters typically spend 60% to 80% of their time on preparation and only 20% actually applying paint.
This ratio is not inefficiency. It is the absolute requirement for a finish that survives our harsh Arizona climate.
At John Claude Painting, we view prep work as the primary job for both interior painting and exterior painting projects. The painting is simply the final seal of approval on a well-prepared surface.
What Happens Without Proper Prep
Skipping steps leads to specific, expensive failures. In the Phoenix area, the intense UV exposure and heat accelerate these problems significantly.
Paint Adhesion Failure
Peeling and flaking:
- Paint cannot bond to the “chalky” layer common on oxidized Arizona stucco.
- Oils and residue create a barrier that pushes new paint off.
- Existing loose paint will lift away and take the fresh coat with it.
- Failures often appear within the first summer season.
Bubbling and Blistering:
- Moisture trapped under the film expands when the sun hits the wall.
- Surface temperatures on a dark wall in Gilbert can reach 160°F.
- Wrong primer selection leads to immediate chemical rejection.
- Correction usually requires stripping the entire surface to the substrate.
Visible Imperfections
Telegraphing:
- Nail holes and drywall patches show through as smooth or raised spots.
- Cracks in stucco reappear as the house expands and contracts thermally.
- Patch marks absorb paint differently than the surrounding wall.
- Surface flaws become the focal point rather than the color.
Uneven appearance:
- Shiny spots appear where walls were smooth and not textured to match.
- Dull spots emerge where the drywall paper was torn.
- Color variation occurs because porous surfaces drink up the paint binders.
- A trained eye spots these “holidays” (missed spots) immediately.
Shortened Paint Life
Early degradation:
- Standard paint jobs in the desert should last 7 to 10 years.
- Poorly prepped jobs often fail in 2 to 3 years.
- Touch-ups become impossible because the base layer is unstable.
- Money is wasted on a project that delivers a fraction of its intended value.
The Complete Prep Process
Our team follows a strict protocol designed for local conditions.
Interior Painting Prep
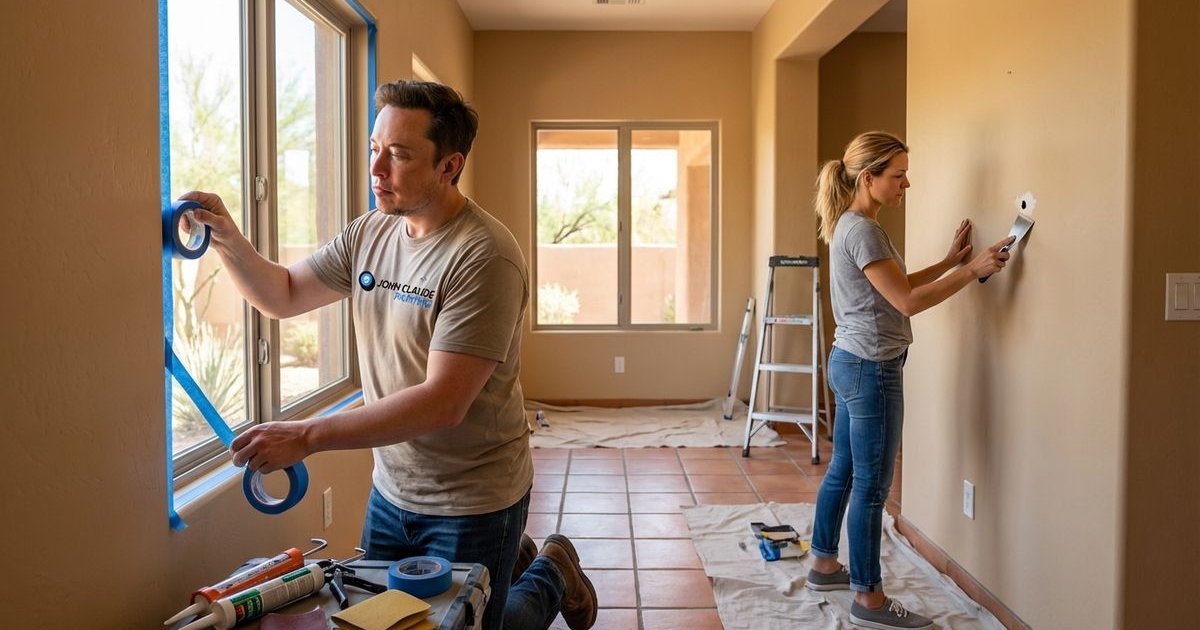
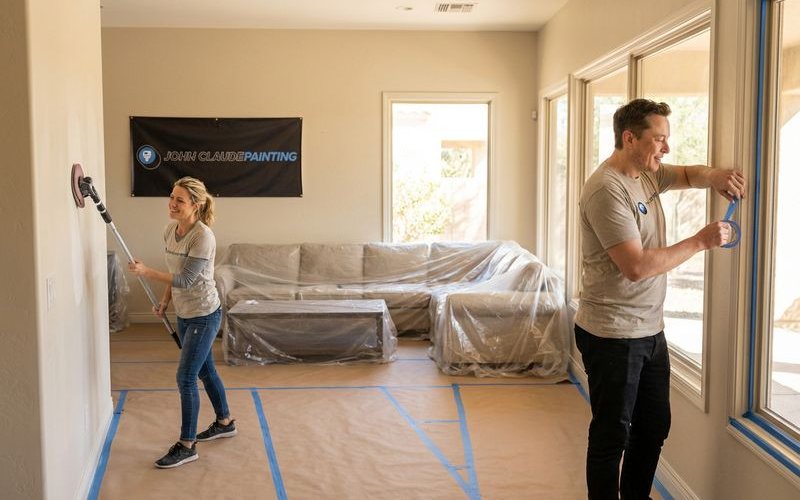
1. Room Protection We treat your furniture with the same care as the walls.
- Move or completely cover all furniture with heavy plastic.
- Protect floors with leak-proof drop cloths (rosin paper for hard floors).
- Remove outlet and switch covers to ensure clean lines.
- Wrap light fixtures and ceiling fans.
- Mask trim and baseboards with precision tape.
2. Surface Cleaning Dust is the enemy of interior adhesion.
- Dust all surfaces, including high shelves and baseboards.
- Clean kitchen grease using a degreaser like TSP (Trisodium Phosphate).
- Remove bathroom buildup where hairspray or soap scum collects.
- Treat any mold or mildew spots with specialized inhibitors.
- Verify walls are bone-dry before proceeding.
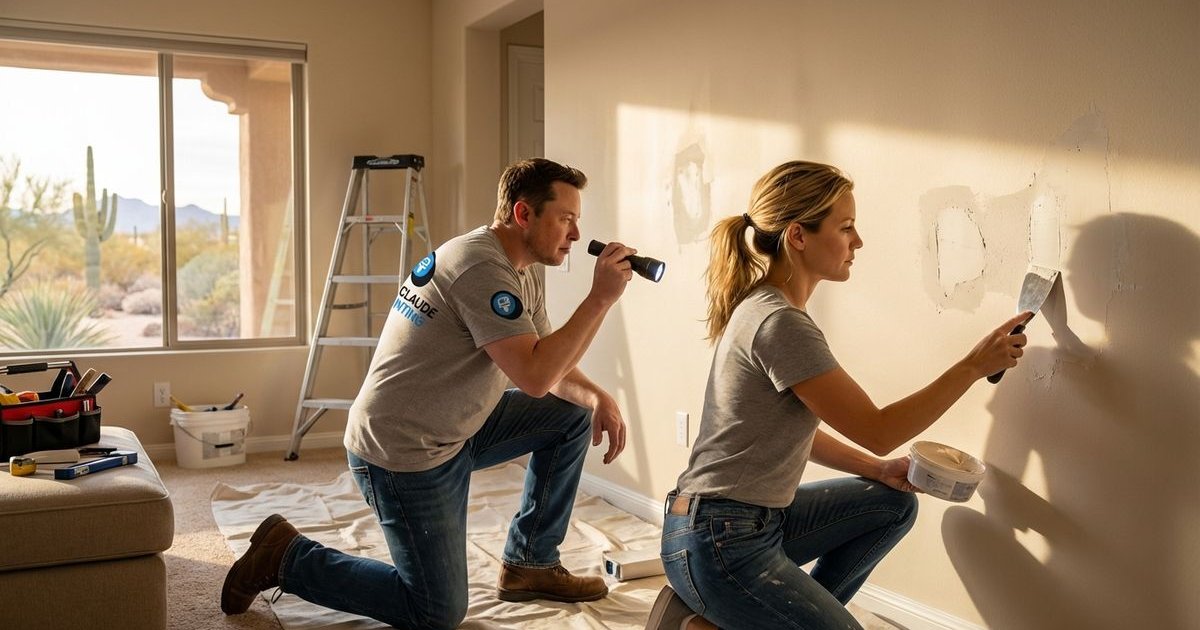
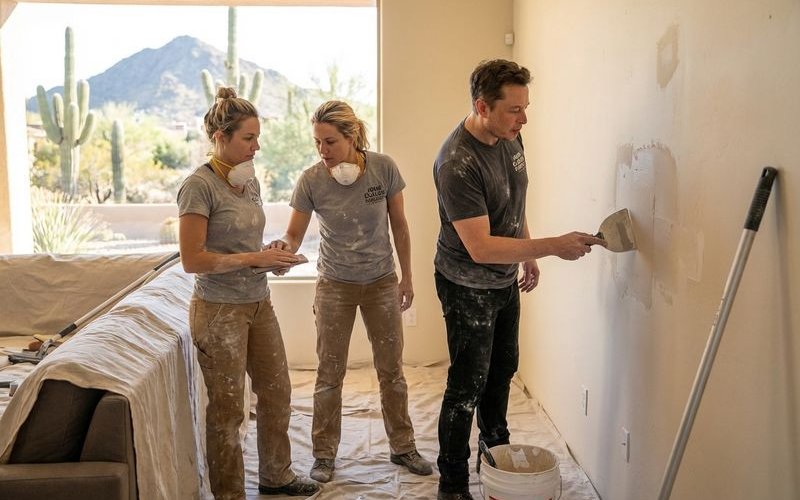
3. Surface Repairs We fix the canvas before applying the art.
- Fill nail holes with non-shrinking spackle.
- Patch drywall damage and match the existing texture (e.g., Santa Fe, Knockdown, or Orange Peel).
- Repair settling cracks with mesh tape for longevity.
- Sand patches to ensure they flush perfectly with the wall.
4. Priming This step acts as the anchor for your topcoat.
- Spot prime all repairs to prevent “flashing” (dull spots).
- Use stain-blocking primers on water stains or ink marks.
- Apply a full prime coat if changing drastically in color.
- Adhere to strict drying times specified by the manufacturer.
Exterior Painting Prep
1. Cleaning Arizona dust and chalky oxidation must be removed.
- Pressure wash the entire exterior (carefully adjusting PSI to protect stucco).
- Remove the powdery “chalk” layer caused by UV breakdown.
- Treat mold or mildew in shaded areas.
- Allow a full 24 to 48 hours for deep drying.
2. Scraping and Conditioning Loose material guarantees failure.
- Scrape away peeling paint until a solid edge is found.
- Feather edges with sandpaper so the transition is invisible.
- Apply a masonry conditioner to bind chalky stucco surfaces.
- Ensure the surface is sound and ready to grip new paint.
3. Repairs We address the harsh effects of the desert sun.
- Fill stucco cracks with high-quality elastomeric patching compound.
- Replace rotted wood on fascias and eaves.
- Caulk gaps around windows and doors to improve energy efficiency.
- Check for structural issues that paint cannot fix.
4. Priming Bare surfaces soak up paint like a sponge without this step.
- Prime all bare wood and stucco spots.
- Seal stains from landscape irrigation or rust.
- Address alkaline surfaces that can “burn” new paint.
- Select the specific primer grade for your home’s exterior material.
Why Each Step Matters
Understanding the mechanics behind the work clarifies the value.
Cleaning Removes Contaminants
What’s on your walls:
- Fine desert dust (silica).
- Cooking oils and kitchen grease.
- Skin oils near light switches and door frames.
- Soap residue in bathrooms.
- Microscopic mold spores.
The functional impact: Paint bonds chemically to the substrate. If a layer of dust or oil sits between the wall and the paint, the chemical bond fails. Clean surfaces are the only way to ensure the warranty holds up.
Repairs Create Smooth Canvas
Common surface issues:
- Nail holes from gallery walls.
- Hairline cracks from house settling (common in Chandler and Gilbert).
- Dents from moving furniture.
- Sloppy repairs from previous contractors.
The functional impact: New paint has a sheen that reflects light. This reflection acts like a magnifying glass for imperfections. Proper repairs make the wall look like a solid, continuous surface rather than a patchwork quilt.
Sanding Ensures Adhesion
What sanding does:
- Creates “tooth” (micro-scratches) for the paint to grip.
- Removes the glossy finish from old trim or doors.
- Levels out spackle and drywall mud.
- Blends repair edges into the main wall.
The functional impact: Applying new paint over glossy, unsanded trim is a recipe for disaster. The new paint will likely chip off with a simple fingernail scratch. Sanding ensures a mechanical bond that stands up to daily wear.
Priming Seals and Bonds
What primer does:
- Equalizes the porosity of the surface.
- Blocks stubborn stains (like water rings or crayon).
- Seals porous stucco repairs so they don’t look dull.
- Provides a “sticky” layer for the topcoat.
The functional impact: Without primer, your expensive topcoat soaks into the wall unevenly. You end up using more paint to get coverage, and the sheen looks blotchy. Primer ensures the final color is rich and uniform.
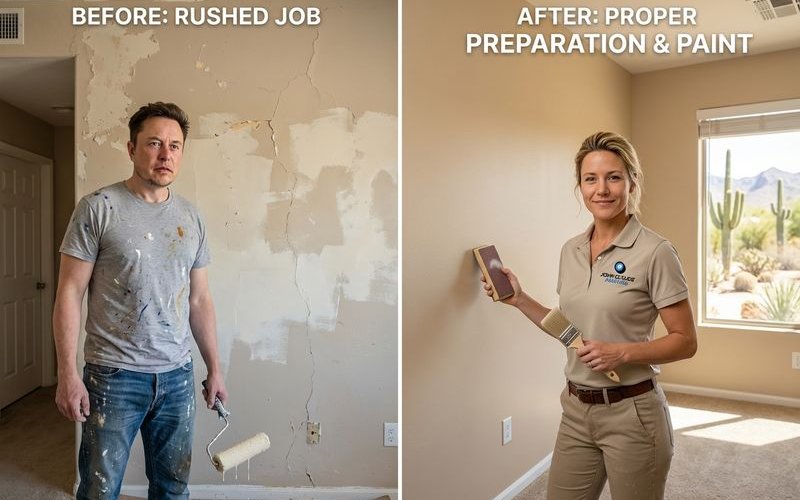
The Real Cost of Cutting Corners
Skipping prep saves a few hundred dollars today but costs thousands later.
Financial Impact
The “Cheap” Paint Job:
- Lower upfront quote creates a false sense of savings.
- Paint often fails within 24 to 36 months in the Arizona sun.
- Complete remediation (scraping and peeling) costs double the original job.
- Total cost of ownership skyrockets over a decade.
Proper Preparation:
- Higher initial investment covers labor and quality materials.
- Results last 7 to 10+ years with proper care.
- Touch-ups blend seamlessly because the base is solid.
- Significant savings realized over the life of the home.
10-Year Cost Comparison (Estimated)
| Approach | Initial Cost | Lifespan | 10-Year Total Cost |
|---|---|---|---|
| Rush Job | $3,500 | 3 Years | $10,500 (3 full repaints) |
| Proper Prep | $5,200 | 10 Years | $5,200 (1 paint job) |
Quality of Life Impact
Poor prep results: You live with the annoyance of visible cracks and peeling.
- Visual clutter from imperfections.
- Frustration knowing the job was not done right.
- Embarrassment when guests notice the flaws.
- Stress of scheduling another repaint too soon.
Thorough prep results: Your home looks crisp, clean, and well-maintained.
- A flawless finish that elevates the room.
- Peace of mind knowing the exterior is sealed against the elements.
- Pride in the property’s appearance.
- Protection of your biggest asset.
How to Recognize Quality Prep Work
Homeowners can spot a serious painter by watching how they start the day.
Positive Signs
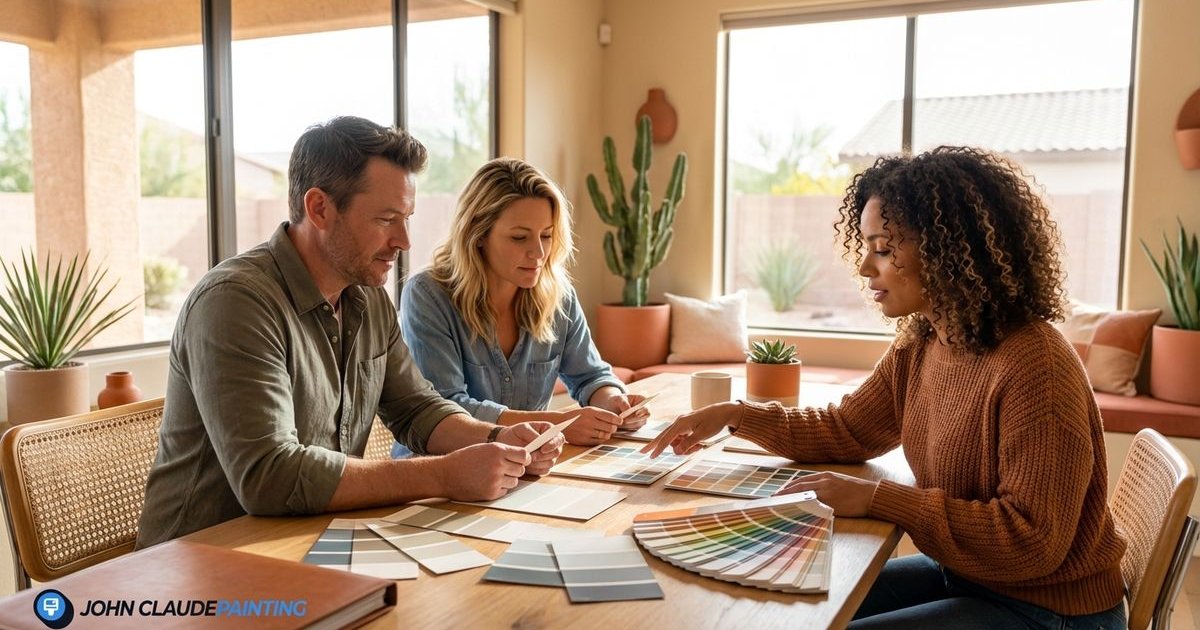
Detailed estimate:
- Specific line items for “power washing,” “scraping,” and “priming.”
- Realistic timeframes (e.g., spending the first 1-2 days just on prep).
- Specification of brand-name primers (like Dunn-Edwards or Sherwin-Williams).
- Absence of vague language.
Professional setup:
- Trucks are organized and clean.
- Heavy-duty canvas drop cloths are used, not thin plastic that tears.
- Windows and brick are masked with precision.
- The crew has a disciplined process for staging tools.
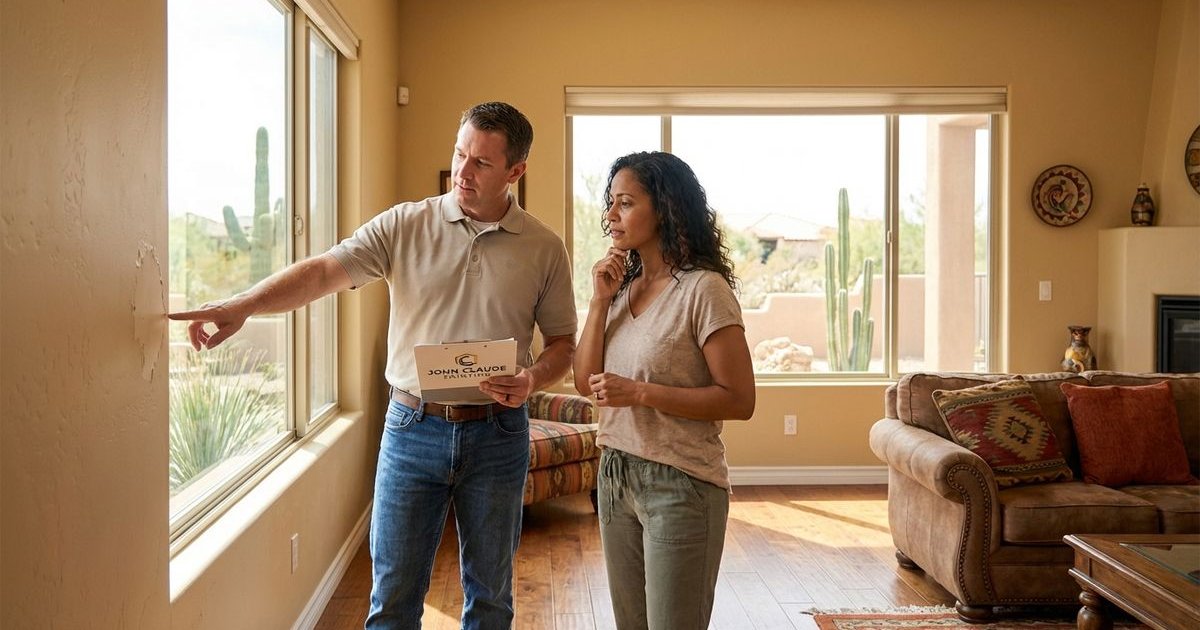
Visible attention:
- The estimator inspects the stucco condition, not just the square footage.
- They ask about water damage history or previous paint issues.
- The crew spends time “walking the wall” to find hidden defects.
- Actual painting doesn’t start until the prep is perfect.
Warning Signs
Red flags:
- “We can knock this out in one day.”
- Using newspaper or cheap tape for masking.
- Applying paint over dirty or chalky surfaces.
- Refusal to explain their patching process.
Our Commitment to Preparation
At John Claude Painting, prep work is where we earn our reputation.
What We Always Do
- Conduct a thorough surface inspection before a brush touches the wall.
- Protect your floors and furniture as if they were our own.
- Clean surfaces using the right chemical agents for the specific debris.
- Execute repairs that match the surrounding texture and grade.
- Prime specific problem areas to guarantee adhesion.
- Wait for the manufacturer-recommended dry times.
What We Never Do
- Paint over dust, chalk, or grease.
- Skip primer on bare wood or raw drywall.
- Rush the patching process to get to the “fun part.”
- Ignore the specific needs of Arizona stucco.
- Sacrifice the longevity of your home for a quicker payday.
Questions to Ask Any Painter
Protect your investment by asking these five questions before signing a contract:
- “What specific preparation steps are included in this price?”
- “How many days will you spend on prep before you open a paint can?”
- “How do you handle stucco cracks and drywall repairs?”
- “Which specific primer product will you use for my home’s condition?”
- “What measures do you take to protect my landscaping and furniture?”
The answers will clearly distinguish a craftsman from a corner-cutter.
Ready for a Paint Job That Lasts?
At John Claude Painting, we invest the time in proper preparation because we know it is the only path to a lasting finish. Our systematic approach ensures your home looks beautiful and stands strong against the Arizona elements.
Call us at 602-572-1234 or contact us online for a detailed, free estimate. We proudly serve Phoenix, Chandler, Gilbert, Mesa, Tempe, Scottsdale, and the East Valley.
Want to see how we prepare for a paint job? Ask about watching our process during your project. We take pride in our methods and are happy to walk you through each step.