
Say Goodbye to Dated Popcorn Ceilings
Few home features scream “1980s” quite like popcorn ceilings. Also known as acoustic or textured ceilings, this bumpy, cottage cheese-like surface was popular decades ago but now makes homes feel dated and dingy. The good news? Removing popcorn ceilings is one of the most impactful home updates you can make.
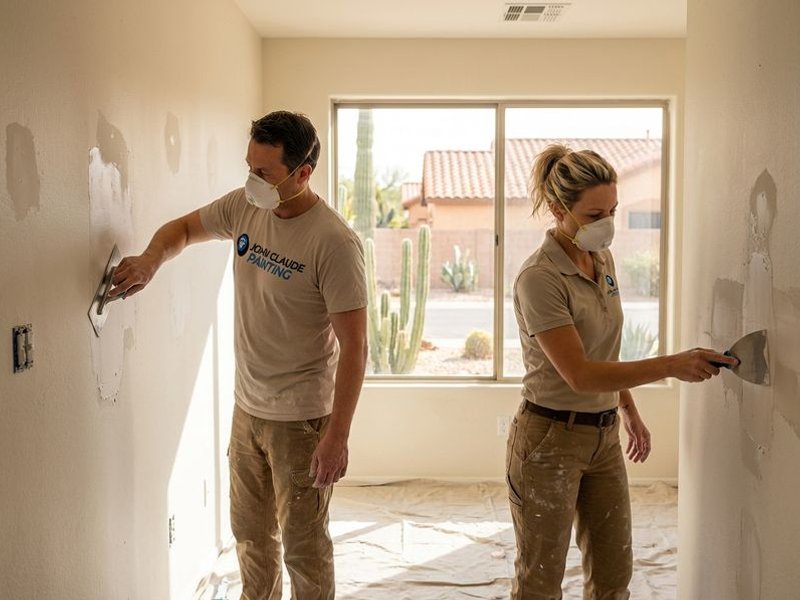
At John Claude Painting, we’ve removed popcorn ceilings from hundreds of Phoenix-area homes. We handle the entire process – from testing and removal through finishing and painting – leaving you with smooth, modern ceilings that transform your space.
Why Remove Popcorn Ceilings?
Instant Modernization
Nothing updates a home’s look faster than smooth ceilings:
- Creates cleaner, more contemporary aesthetic
- Makes rooms feel larger and brighter
- Improves how your home photographs
- Increases perceived value and appeal
Practical Benefits
Beyond aesthetics, removal offers real advantages:
- Easier cleaning: No more dust trapped in texture
- Better lighting: Smooth surfaces reflect light evenly
- Painting simplicity: Future touch-ups are easy
- Repair access: Easier to address ceiling damage
Home Value Impact
Real estate professionals consistently rank popcorn ceiling removal among the highest-impact updates:
- Buyers notice immediately during showings
- Removes a common negotiation point
- Signals updated, well-maintained home
- Often returns investment at sale
The Asbestos Question
Understanding the Risk
Popcorn ceilings installed before 1980 may contain asbestos fibers. Asbestos was added to ceiling texture for fire resistance and durability. While intact popcorn ceilings pose minimal risk, disturbing asbestos-containing material releases harmful fibers.
Our Testing Approach
For homes built before 1980:
- We recommend professional asbestos testing
- Small samples sent to certified lab
- Results typically within 3-5 days
- Testing cost is minimal compared to peace of mind
For homes built 1980 or later:
- Asbestos is rarely a concern
- We can proceed with standard removal
- Testing optional but available
If Asbestos Is Present
Don’t panic – but don’t DIY either. Asbestos-containing ceilings require:
- Licensed asbestos abatement contractors
- Specialized containment and removal
- Proper disposal procedures
- Documentation for future disclosure
We can recommend trusted abatement contractors and return for finishing work once removal is safely completed.
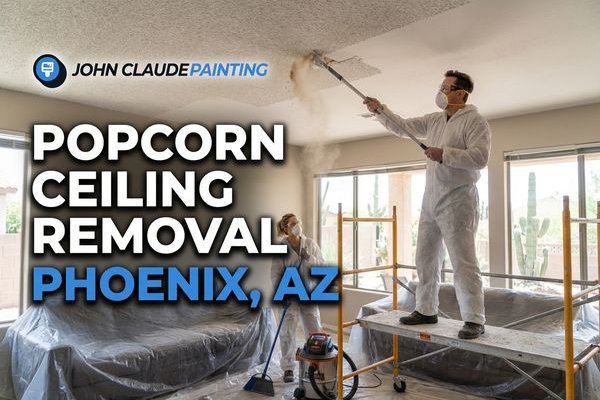
Our Popcorn Ceiling Removal Process
Step 1: Room Preparation
Before any scraping begins, we protect your home:
Furniture: All furniture moved out of the room when possible, or grouped and fully covered in center
Flooring: Heavy-duty plastic sheeting taped down with edges sealed
Walls: Plastic draped from ceiling to floor to catch debris
Fixtures: Light fixtures, ceiling fans, and smoke detectors removed
HVAC: Vents covered to prevent debris entering ductwork
The preparation takes time but makes cleanup easier and protects your belongings.
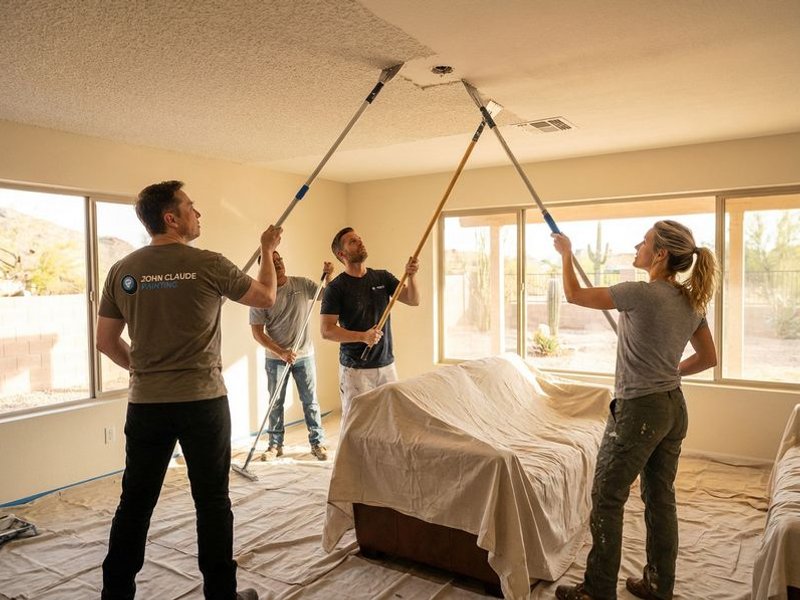
Step 2: Texture Removal
The actual scraping process varies based on ceiling condition:
Unpainted Popcorn (easier):
- Ceiling misted with water to soften texture
- Texture scraped away with wide drywall knives
- Process repeated until ceiling is clear
- Debris collected and removed
Painted Popcorn (more challenging):
- Paint prevents water penetration
- May require dry scraping
- Takes longer but still achievable
- Same end result
Step 3: Surface Assessment
With texture removed, we evaluate the underlying drywall:
Common Issues Found:
- Visible drywall joints and tape
- Nail pops and dimples
- Water stains
- Cracks and damage
- Uneven surfaces
Popcorn texture was often applied to hide imperfections, so expect some remediation.
Step 4: Drywall Finishing
Creating a smooth ceiling requires proper finishing:
- Joint work: Tape and mud all drywall joints
- Spot repairs: Fill holes, dings, and imperfections
- First coat: Wide taping over joints
- Second coat: Feather edges, fill low spots
- Third coat: Final smoothing
- Sanding: Smooth entire surface
This multi-coat process is what separates amateur from professional results.
Step 5: Texture Options
You don’t have to go completely smooth. Options include:
Smooth Ceiling (most popular):
- Clean, modern look
- Shows imperfections more (requires careful finishing)
- Easiest to maintain and repaint
Light Orange Peel:
- Subtle texture
- Hides minor imperfections
- Easy to touch up
Knockdown:
- More pronounced texture
- Popular in Southwest homes
- Good at hiding imperfections
Step 6: Priming
Bare drywall and joint compound must be primed:
- Seals porous surfaces
- Creates uniform base for paint
- Prevents uneven sheen
- Essential for quality results
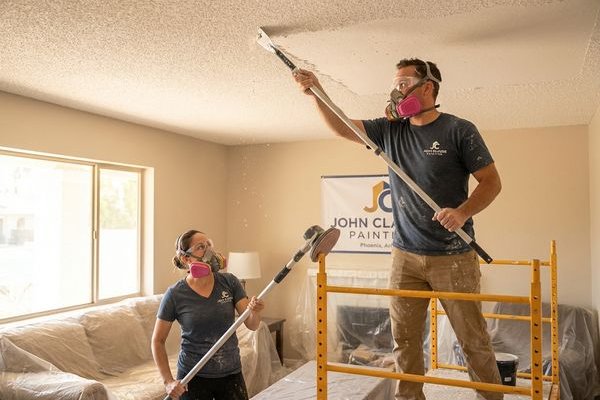
Step 7: Painting
The final transformation:
- Two coats of ceiling paint applied
- Rolled for consistent texture
- Cut in at edges and around fixtures
- Fixtures reinstalled
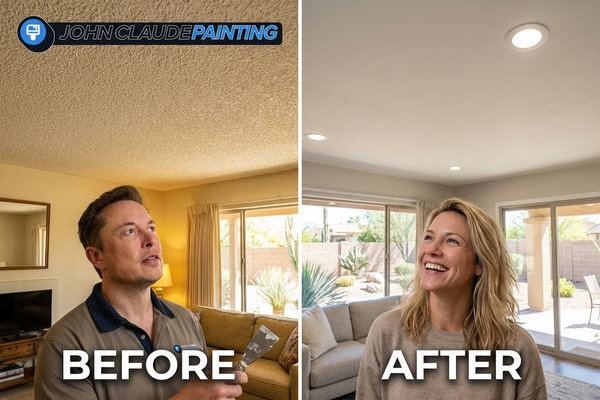
You’re left with a beautiful, modern ceiling that transforms the room.
What to Expect
Timeline
| Scope | Typical Duration |
|---|---|
| Single room | 2-3 days |
| Master bedroom + bathroom | 3-4 days |
| Main living areas | 4-6 days |
| Whole house | 7-14 days |
Timelines include removal, finishing, and painting with proper dry times.
Living Through the Project
Popcorn removal creates mess and noise:
- Noise: Scraping and sanding are loud
- Dust: Even with containment, some dust escapes
- Access: Rooms are unusable during work
- HVAC: May need to close off vents in work areas
Most clients either:
- Stay home and work around us
- Leave during active removal days
- Stage the project room by room
Cleanup
When we complete each room:
- All debris removed
- Plastic sheeting taken down
- Floors cleaned
- Furniture returned
- Final inspection with you
DIY vs. Professional Removal
Why DIY Often Disappoints
Many homeowners attempt popcorn removal themselves:
Common DIY Problems:
- Underestimating mess and containment needs
- Damaging underlying drywall during scraping
- Poor finishing leaves visible joints
- Asbestos risk if home is older
- Taking much longer than expected
- Unsatisfactory final appearance
Professional Advantages
- Experience: We’ve removed hundreds of ceilings
- Efficiency: Proper tools and techniques save time
- Finishing skill: Smooth results require expertise
- Complete service: One contractor for entire project
- Guaranteed results: We stand behind our work
Pricing Factors
Popcorn removal pricing depends on:
- Square footage: Total ceiling area
- Ceiling height: Standard vs. high ceilings
- Current condition: Painted vs. unpainted texture
- Underlying issues: Repairs needed
- Final finish: Smooth vs. light texture
- Painting scope: Ceilings only or with walls
We provide detailed quotes after assessment so you know exactly what to expect.
Ready to Modernize Your Ceilings?
Stop looking up at dated popcorn ceilings. Transform your home with professional removal that delivers smooth, modern results.
Call us at 602-572-1234 or request a free estimate to schedule your ceiling assessment. We’ll evaluate your ceilings, discuss options, and provide a detailed quote.